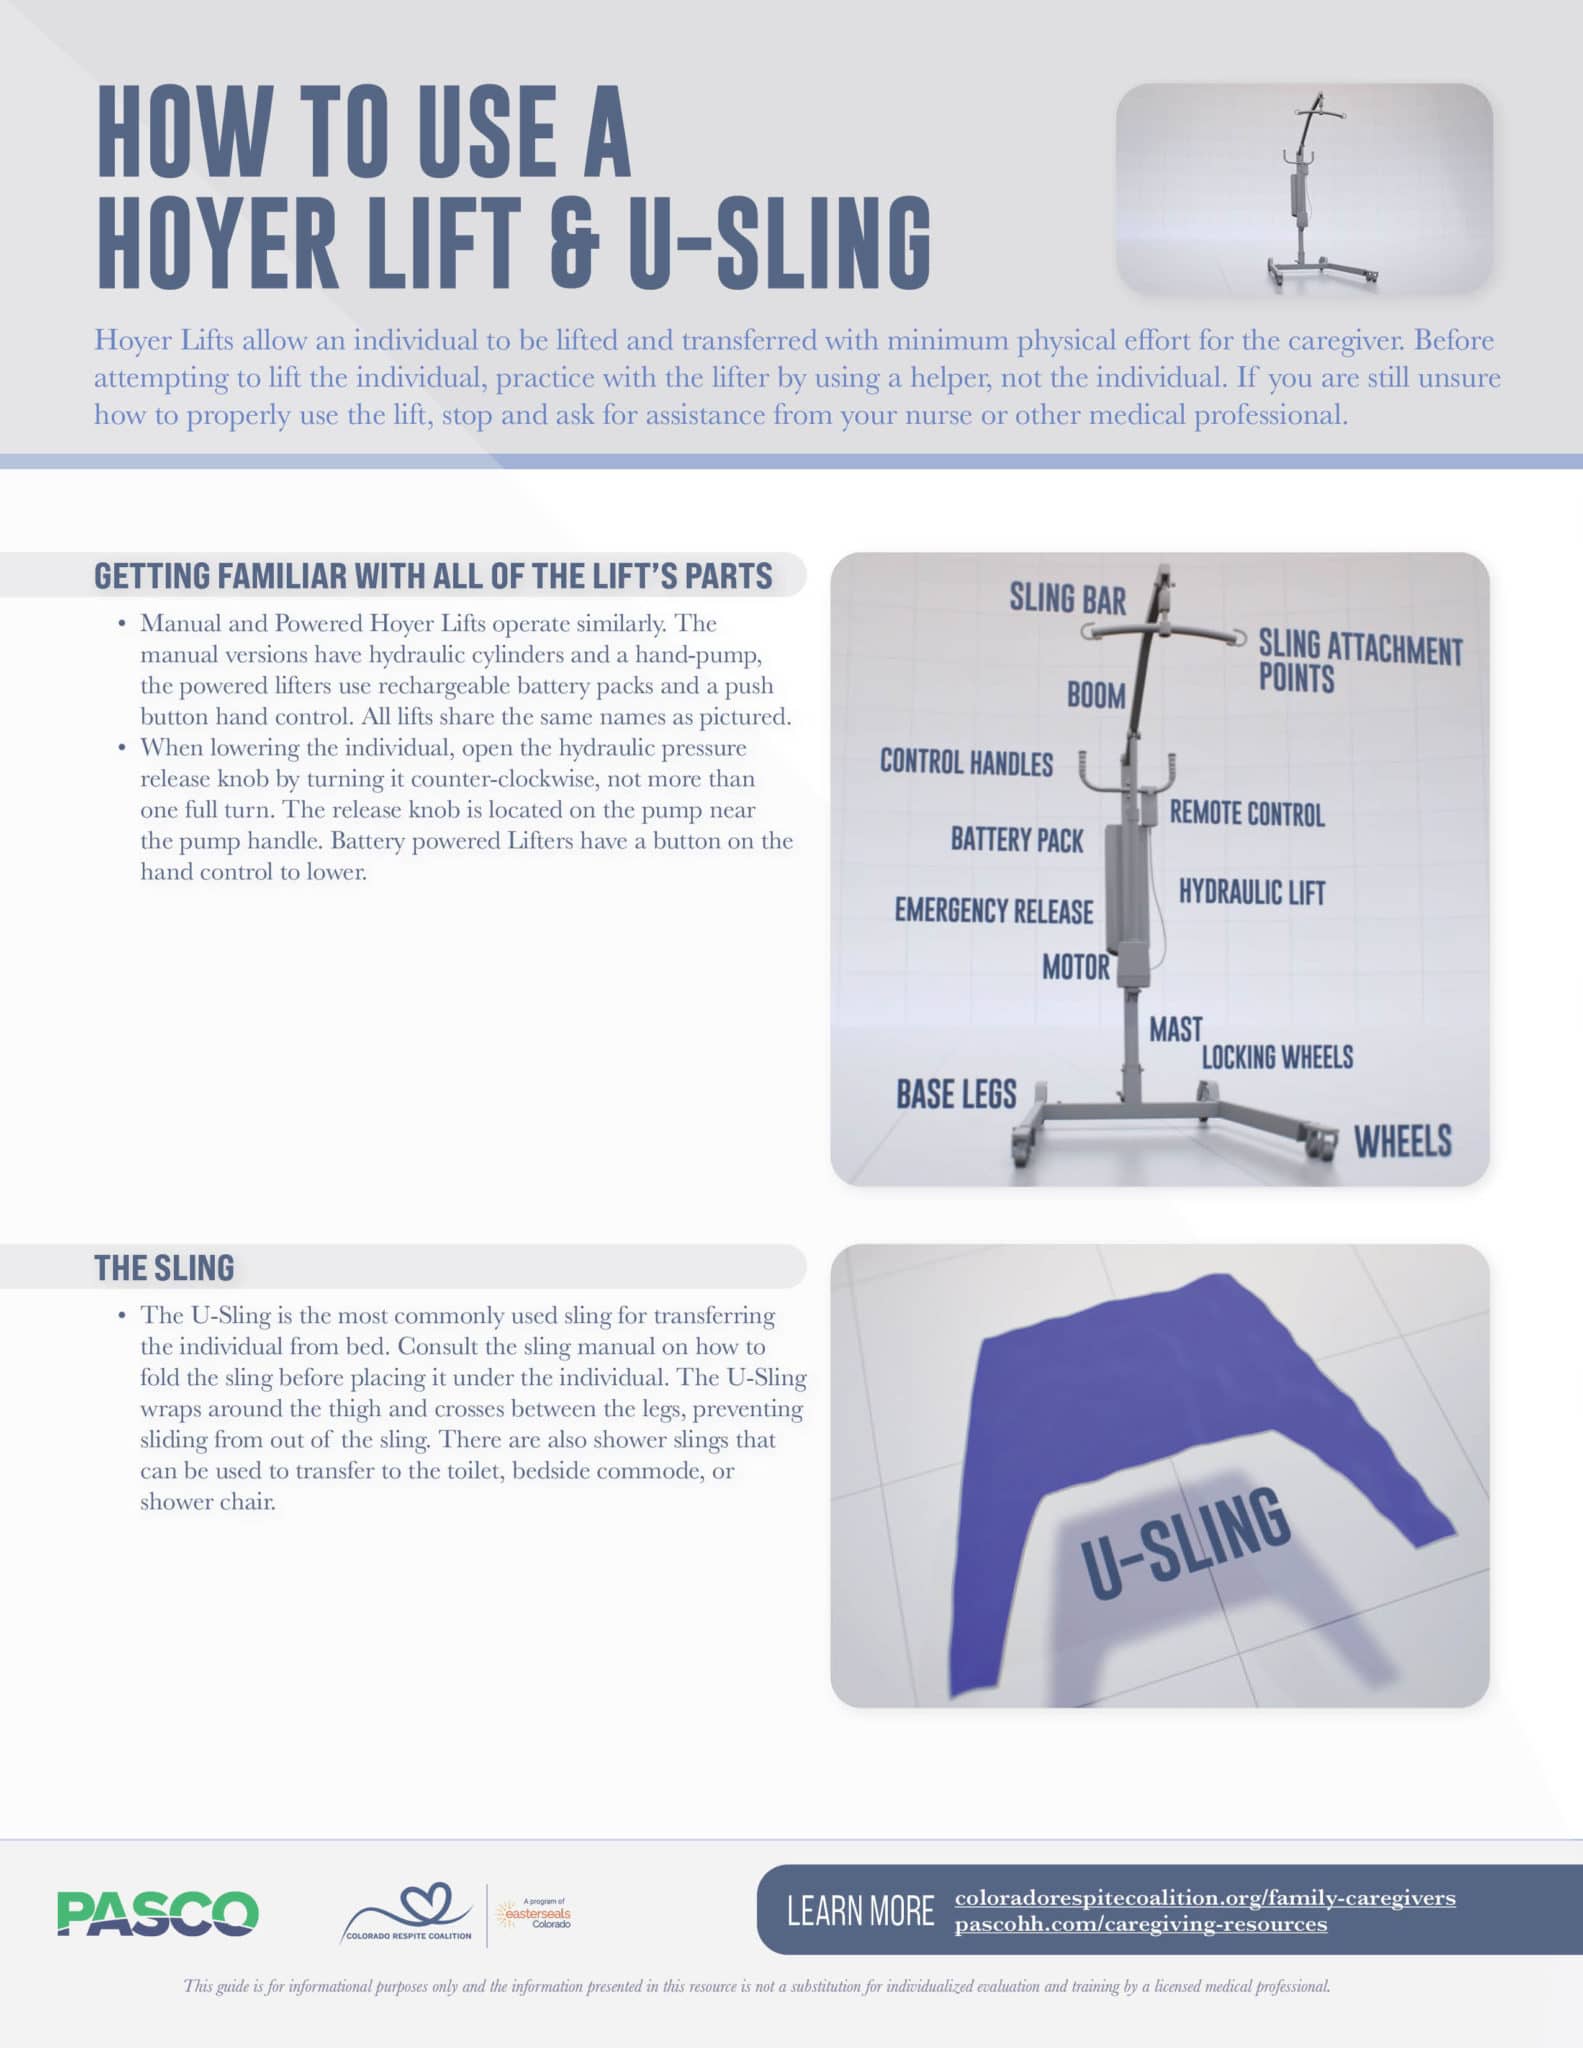
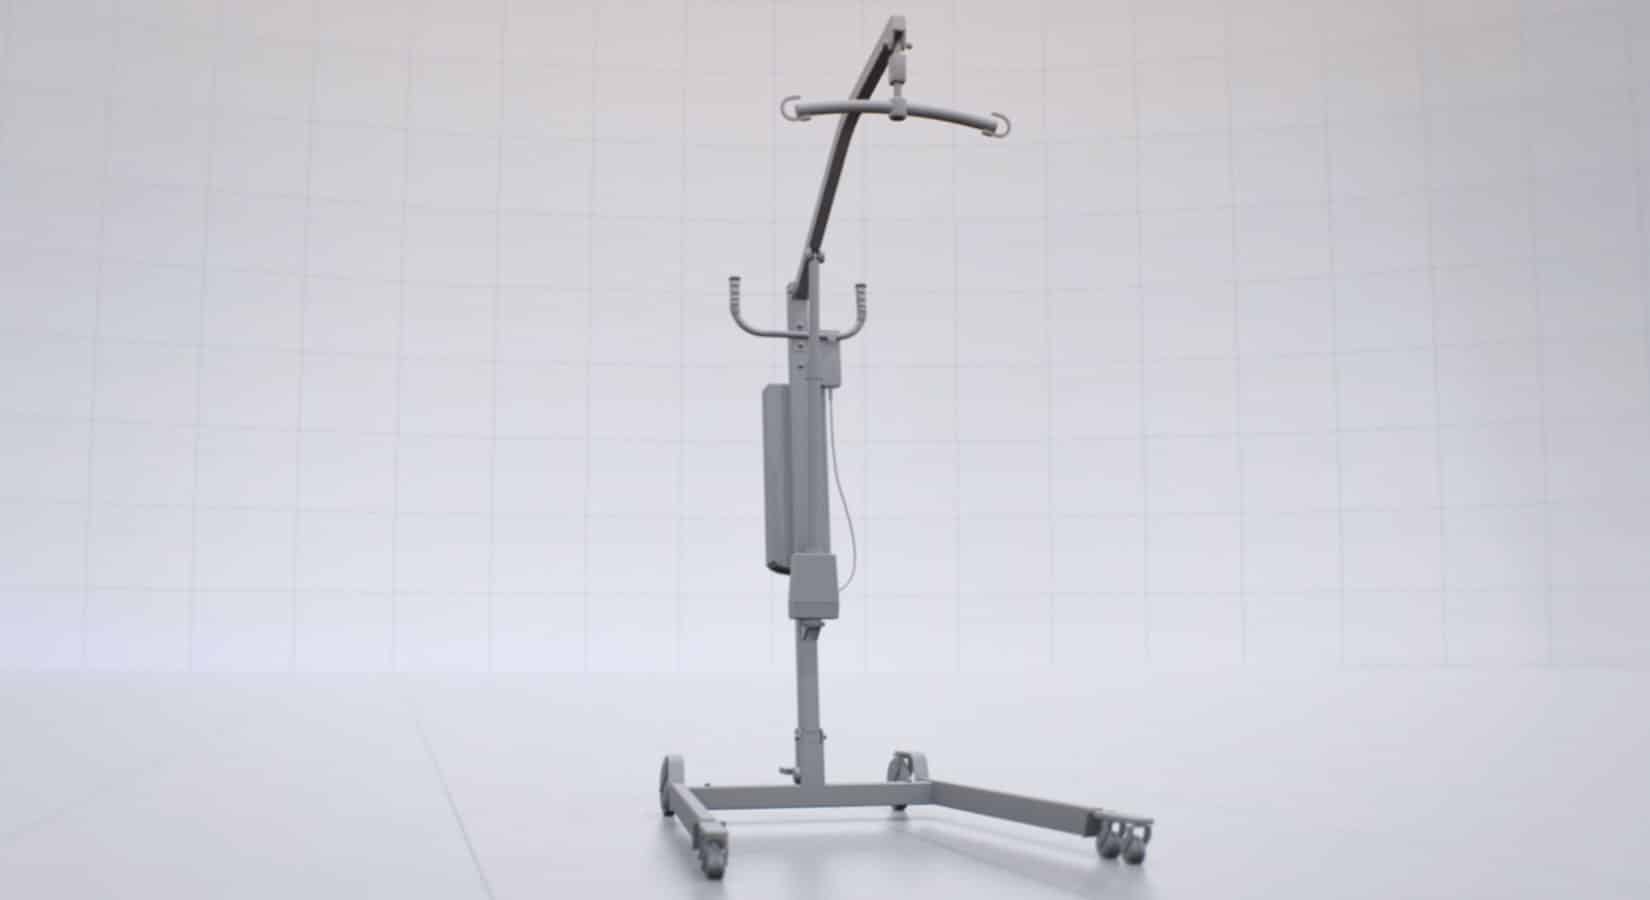
- Manual and Powered Hoyer Lifts operate similarly. The manual versions have hydraulic cylinders and a hand-pump, the powered lifters use rechargeable battery packs and push-button hand control. All lifts share the same names as pictured.
- When lowering the individual, open the hydraulic pressure release knob by turning it counter-clockwise, not more than one full turn. The release knob is located on the pump near the pump handle. Battery-powered Lifters have a button on the hand control to lower.
How to use a Hoyer Lift & U-Sling
Hoyer Lifts allow an individual to be lifted and transferred with minimum physical effort for the caregiver. Before attempting to lift the individual, practice with the lifter by using a helper, not the individual. If you are still unsure how to properly use the lift, stop and ask for assistance from your nurse or other medical professional.
1
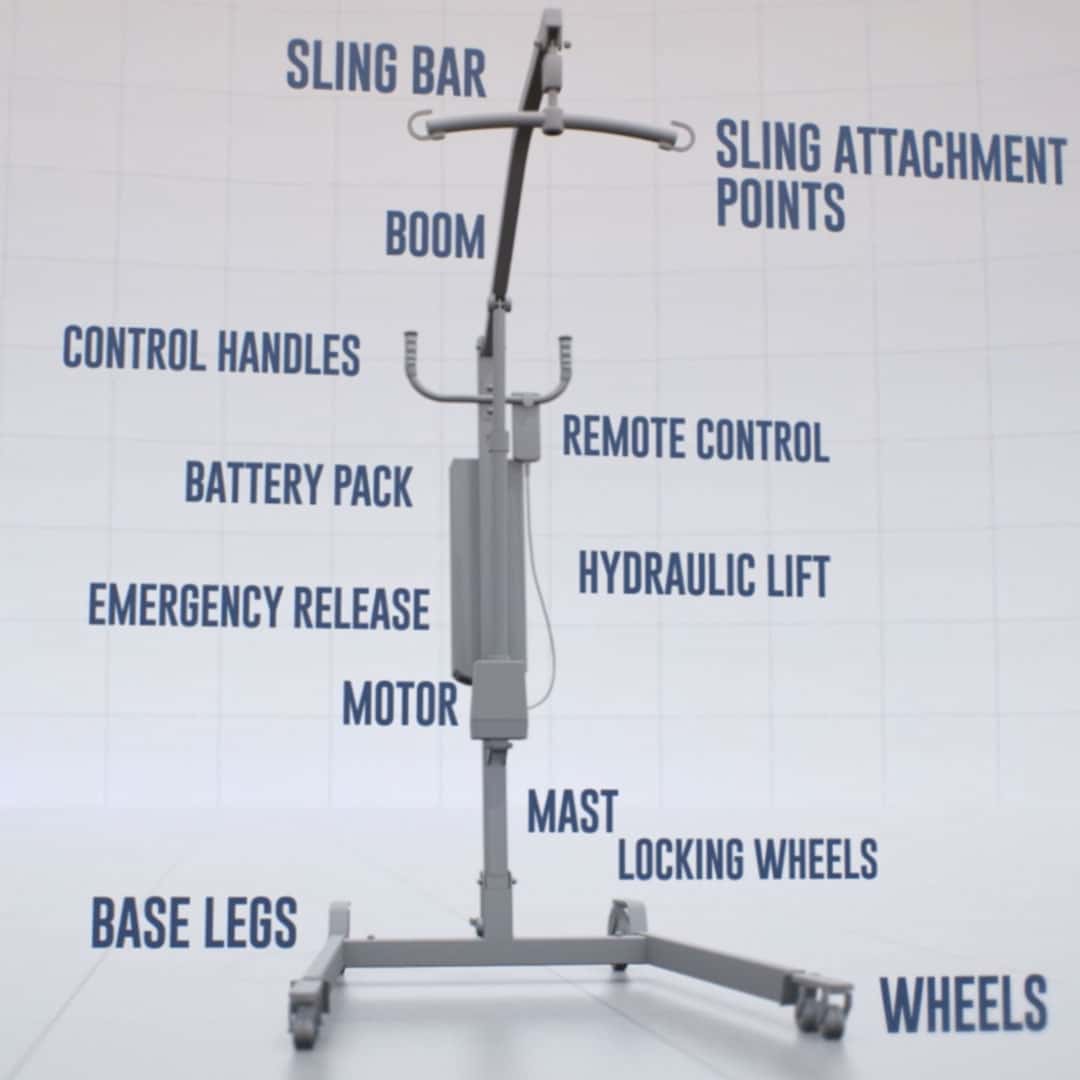
Sling Bar
2
Sling Attachment Points
3
Boom
4
Control Handles
5
Remote Control
6
Battery Pack
7
Hydraulic Lift
8
Emergency Release
9
Motor
10
Mast
11
Locking Wheels
12
Base Legs
13
Wheels
Getting Familiar with all of the Lift Parts
The Sling
- The U-Sling is the most commonly used sling for transferring the individual from bed. Consult the sling manual on how to fold the sling before placing it under the individual. The U-Sling wraps around the thigh and crosses between the legs, preventing sliding from out of the sling. There are also shower slings that can be used to transfer to the toilet, bedside commode, or shower chair.