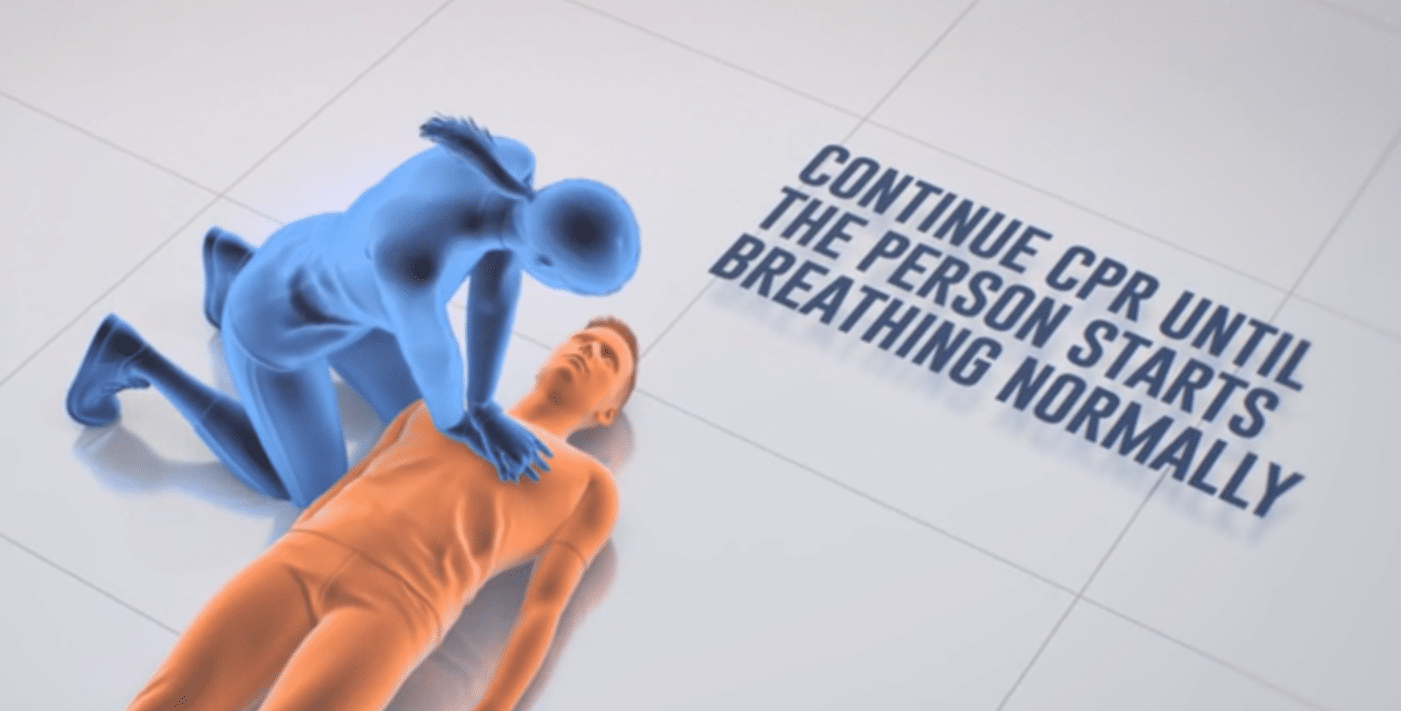
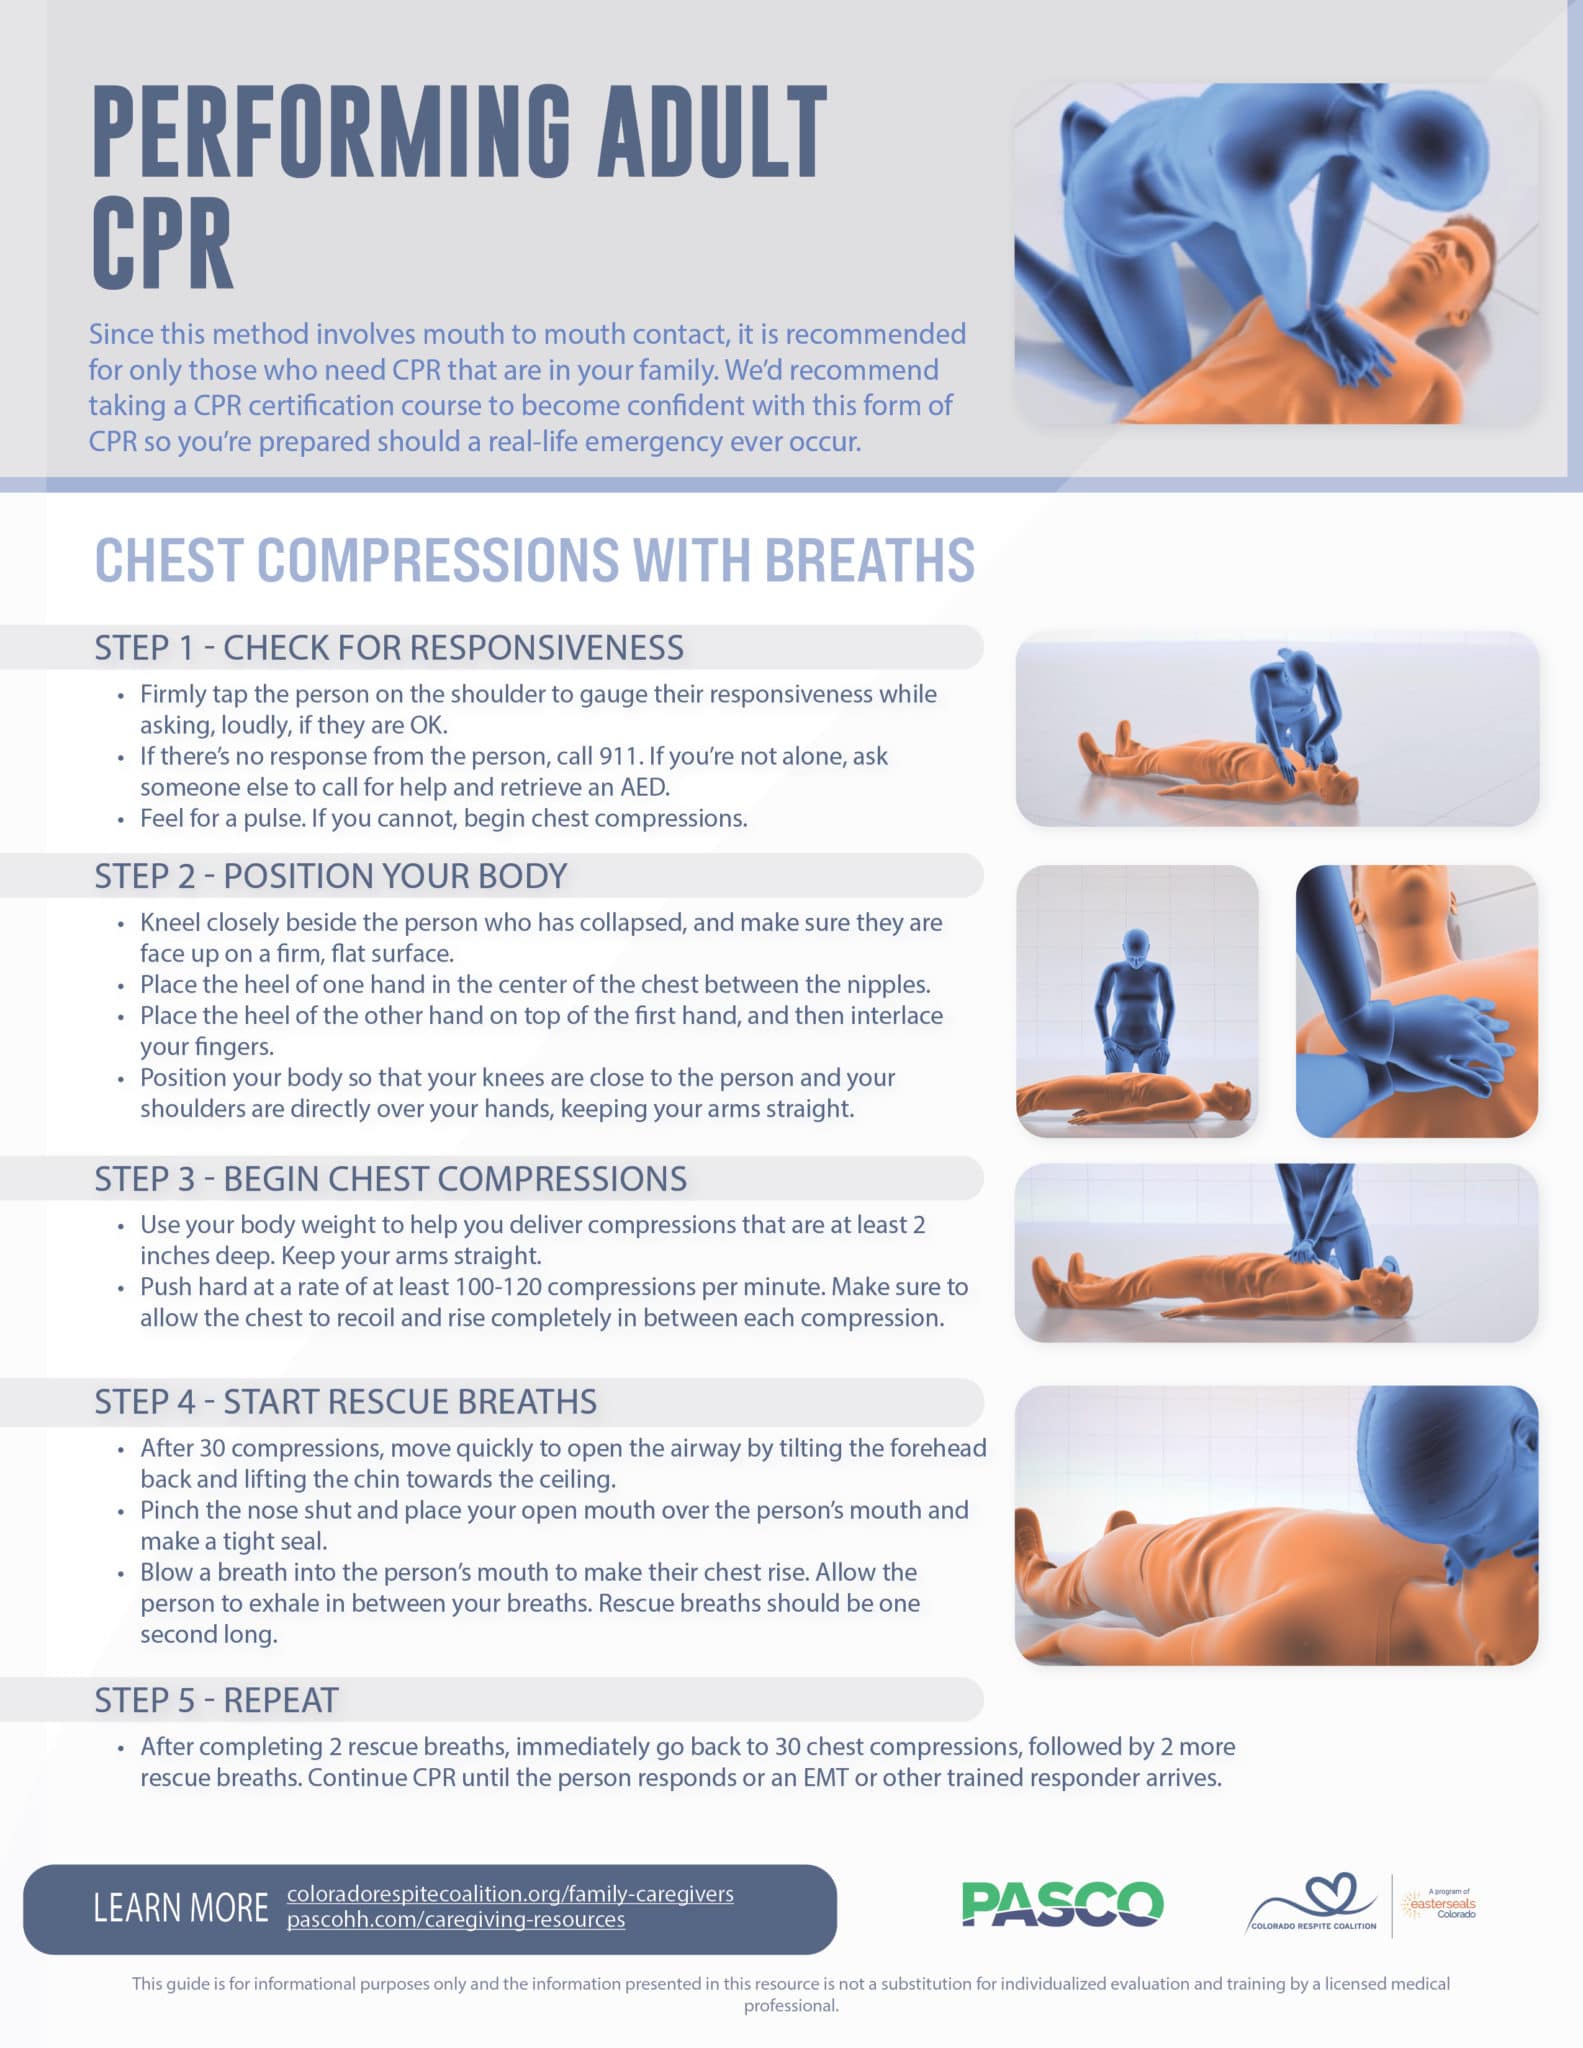
Since this method involves mouth-to-mouth contact, it is recommended for only those who need CPR that are in your family. We’d recommend taking a CPR certification course to become confident with this form of CPR so you’re prepared should a real-life emergency ever occur.
Step 1 - Check for Responsiveness
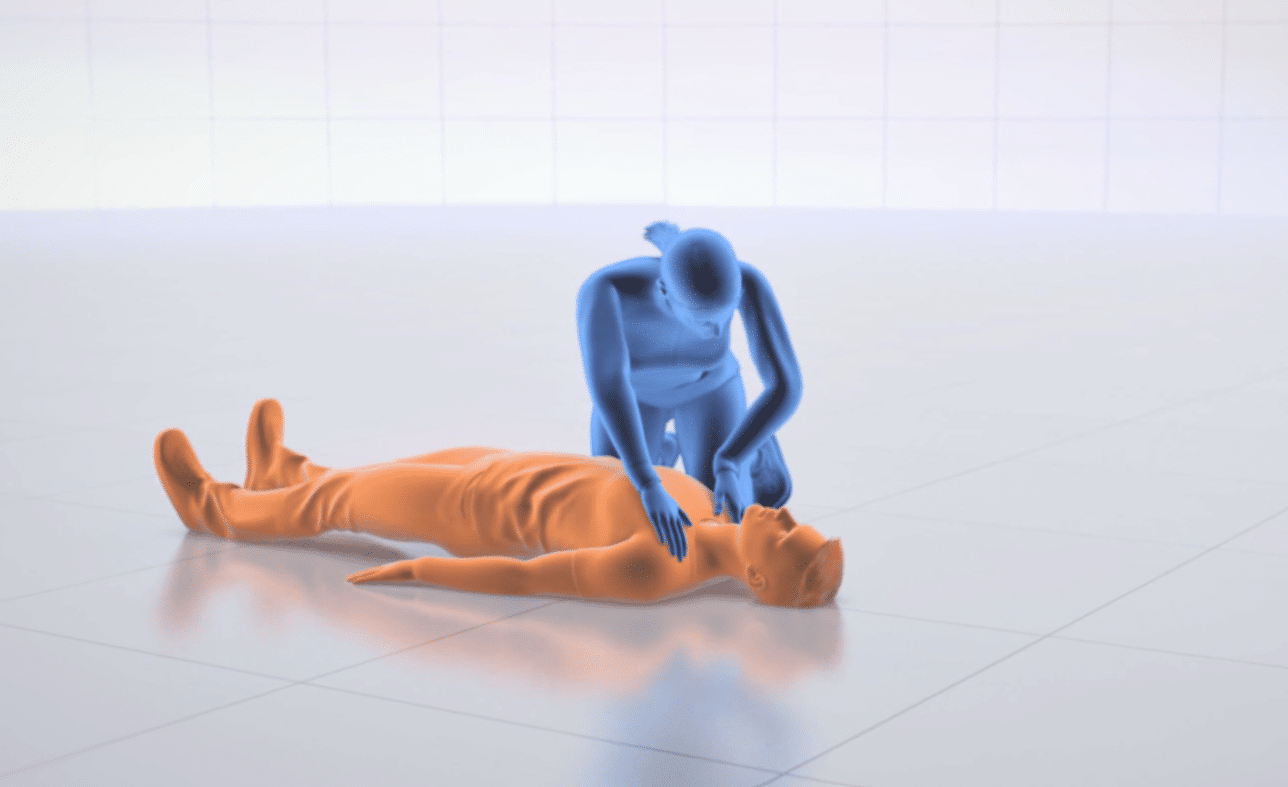
- Firmly tap the person on the shoulder to gauge their responsiveness while asking, loudly, if they are OK.
- If there’s no response from the person, call 911. If you’re not alone, ask someone else to call for help and retrieve an AED.
- Feel for a pulse. If you cannot, begin chest compressions.
Step 2 - Position Your Body
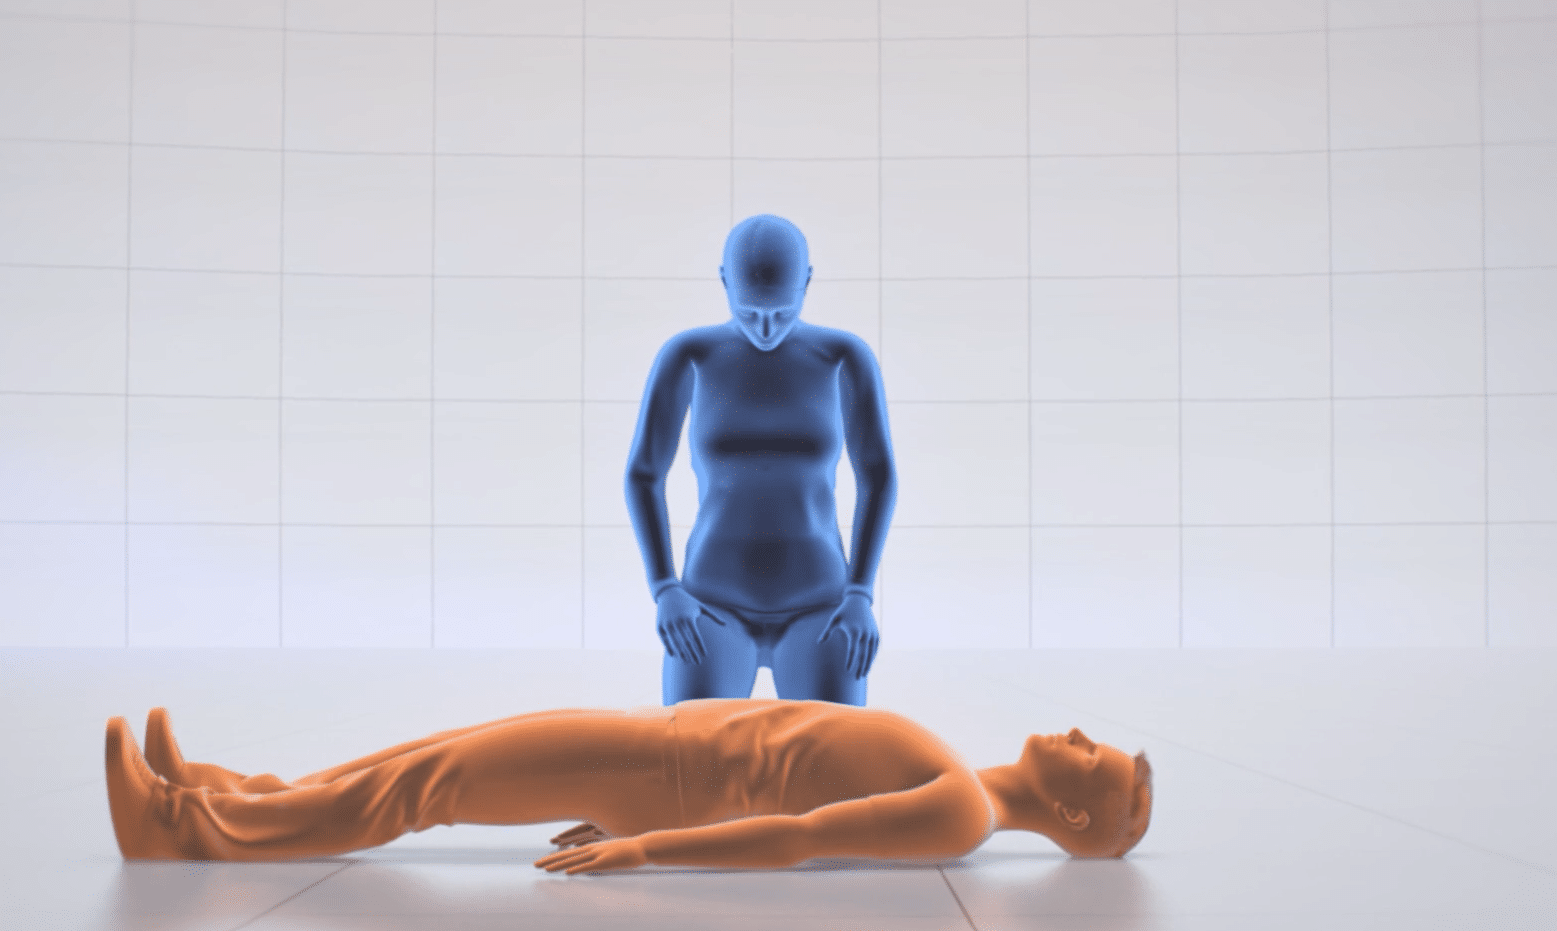
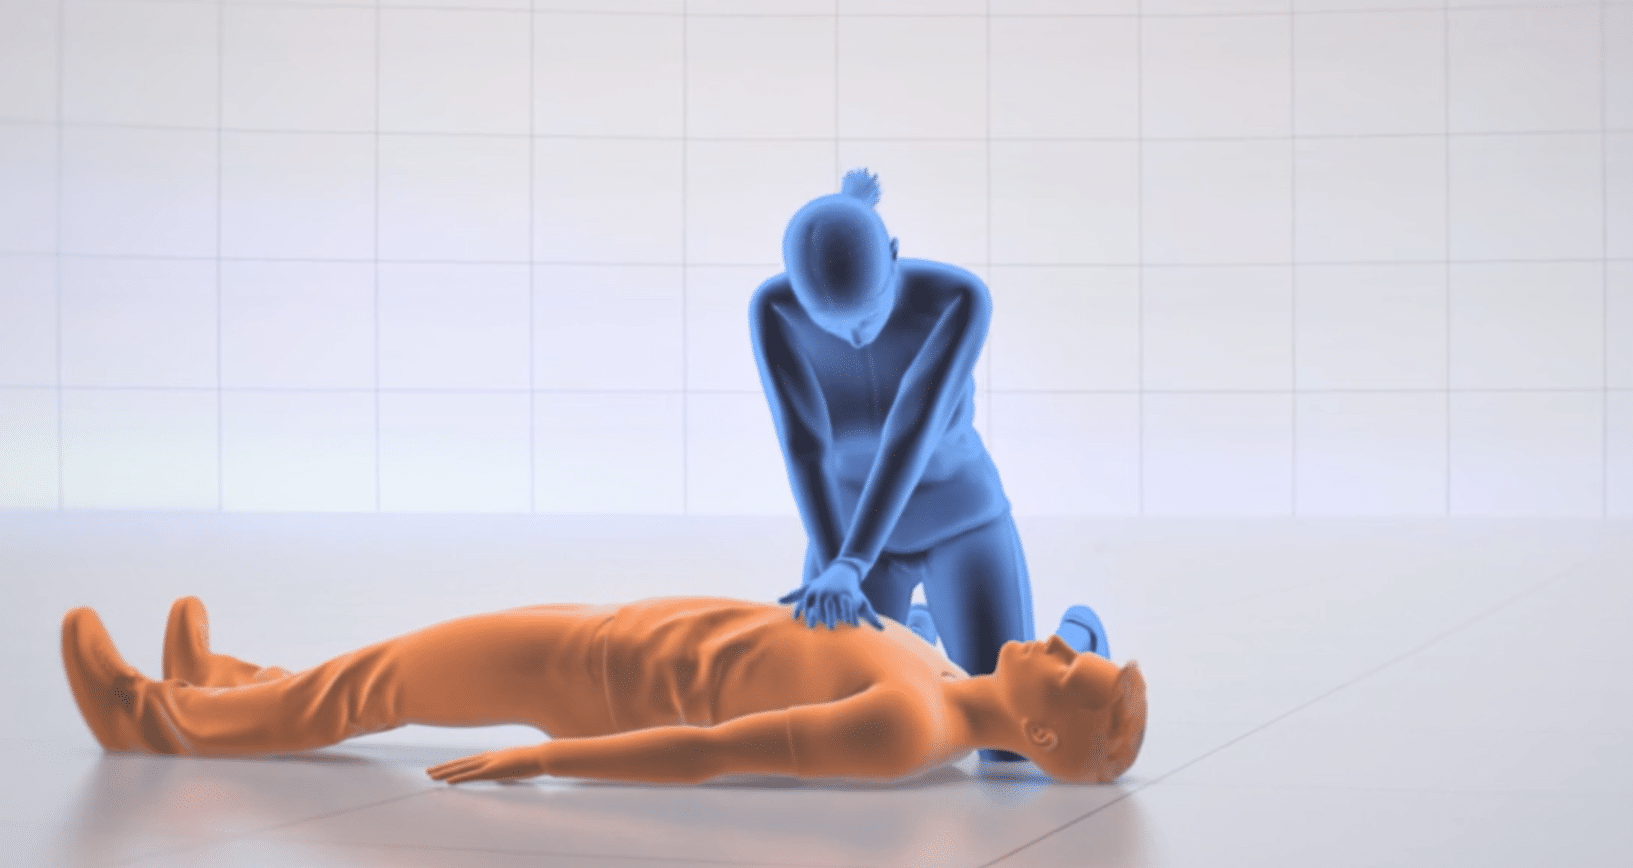
- Kneel closely beside the person who has collapsed, and make sure they are face-up on a firm, flat surface.
- Place the heel of one hand in the center of the chest between the nipples.
- Place the heel of the other hand on top of the first hand, and then interlace your fingers.
- Position your body so that your knees are close to the person and your shoulders are directly over your hands, keeping your arms straight.
Step 3 - Begin Chest Compressions
- Use your body weight to help you deliver compressions that are at least 2 inches deep.
- Keep your arms straight.
- Push hard at a rate of at least 100-120 compressions per minute.
- Make sure to allow the chest to recoil and rise completely in between each compression.
Step 4 - Start Rescue Breaths
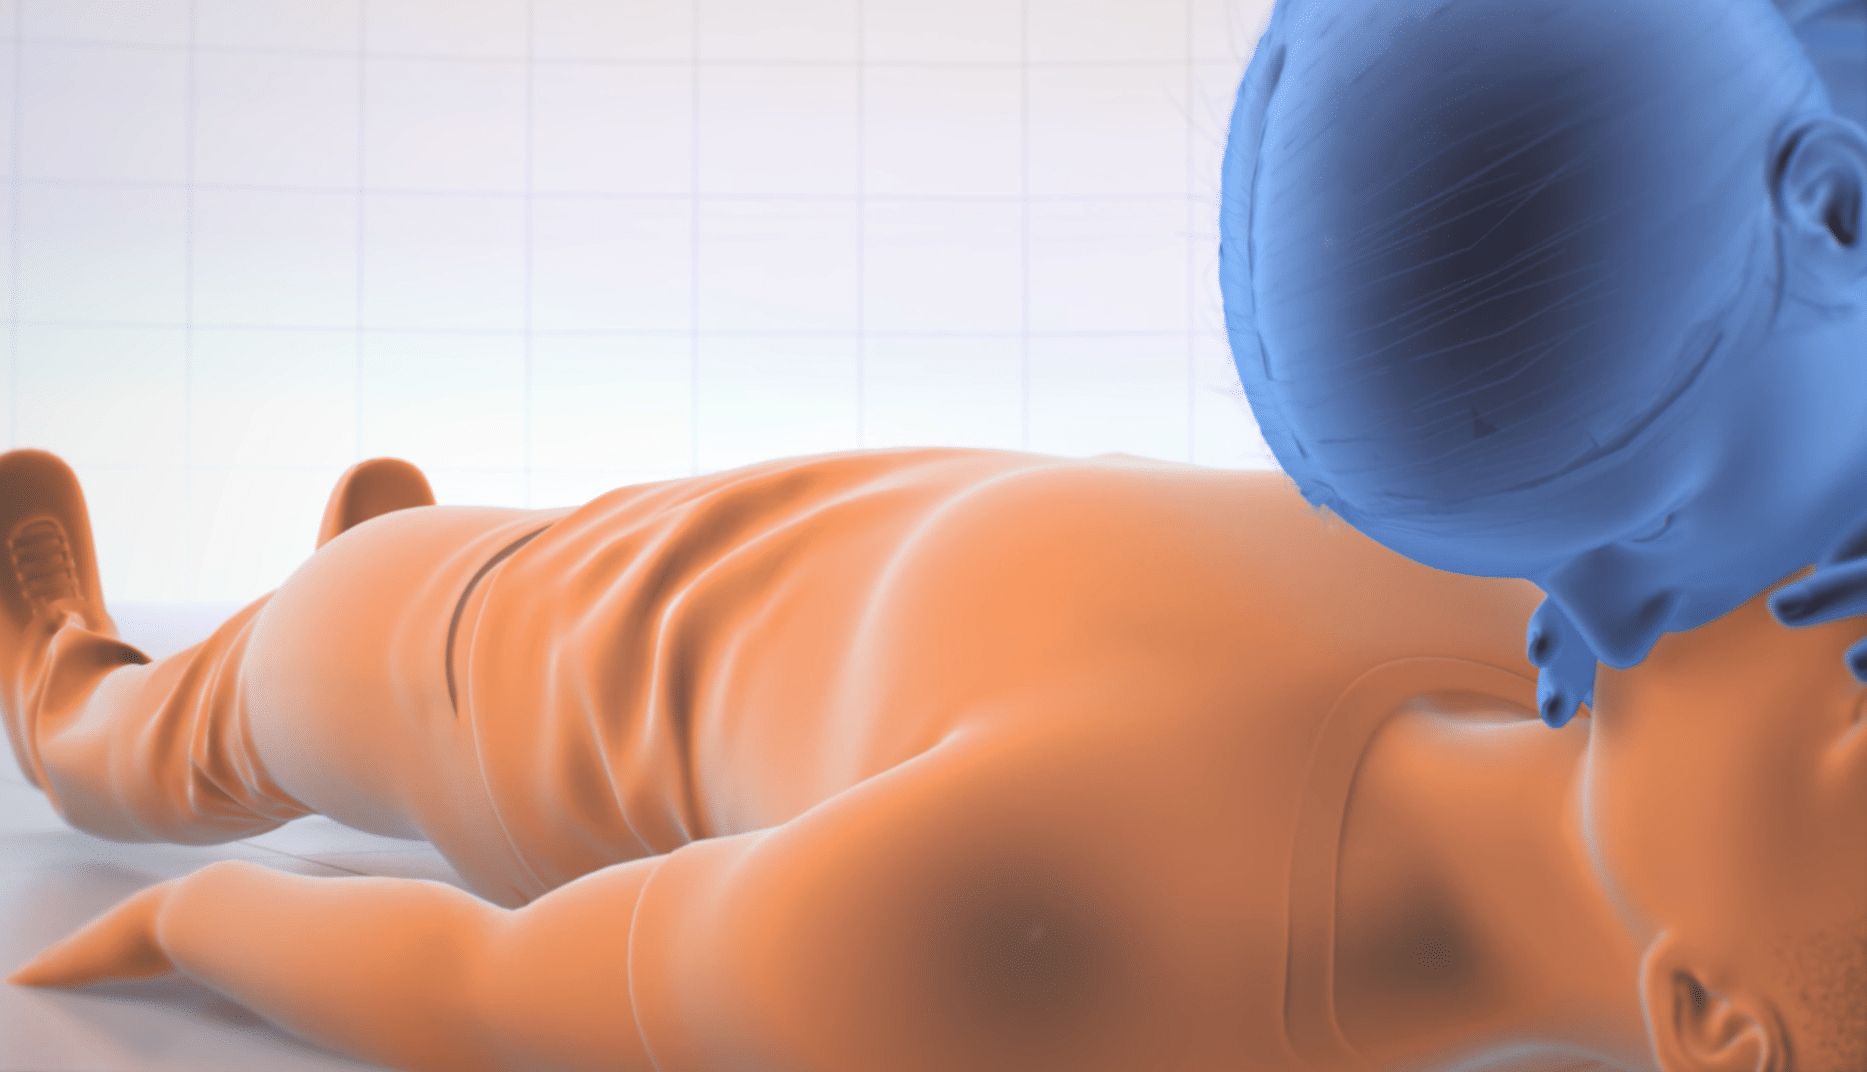
- After 30 compressions, move quickly to open the airway by tilting the forehead back and lifting the chin towards the ceiling.
- Pinch the nose shut and place your open mouth over the person’s mouth and make a tight seal.
- Blow a breath into the person’s mouth to make their chest rise.
- Allow the person to exhale in between your breaths. Rescue breaths should be one second long.
Step 5 - Repeat
- After completing 2 rescue breaths, immediately go back to 30 chest compressions, followed by 2 more rescue breaths.
- Continue CPR until the person responds or an EMT or other trained responder arrives.
